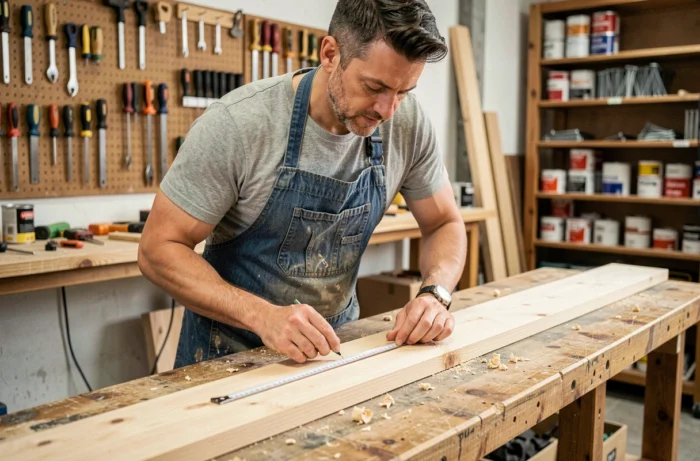
How much should you budget for tools when starting a DIY project at home? The answer depends less on how many tools you buy than on how well each purchase matches the work you plan to do. Comparing expenses, distinguishing versatile tools from specialist equipment, and assessing an item’s actual lifespan can help you plan a project without wasting money.
Versatile or specialist tools: a comparison table to help you choose before buying
Before filling an online shopping cart, ask yourself one question: will you use the tool for several projects, or only for the one you’re working on now? The answer changes how you should think about the investment.
| Criteria | Versatile tool | Specialist tool |
|---|---|---|
| Frequency of use | Several times a year, for a range of projects | Occasionally, for a specific task |
| Upfront cost | Moderate, quickly recouped | Variable, sometimes high for a single use |
| Common examples | Drill/driver, jigsaw, laser level | Sliding compound miter saw, router, wall chaser |
| Alternative to buying | Not very practical (recurring use) | Rent from a store or borrow from someone |
| Workshop space required | Small to moderate | Often bulky and requires dedicated storage |
A beginner planning to put up shelves, hang pictures, and assemble a small piece of furniture doesn’t need a sliding compound miter saw. A drill/driver and a jigsaw cover most common DIY jobs. A specialist tool makes sense when the project calls for it and renting would cost as much as buying one after just two uses.
Resources such as Les Experts du Bricolage explain the technical features of each tool category, making it easier to weigh up your options before buying.
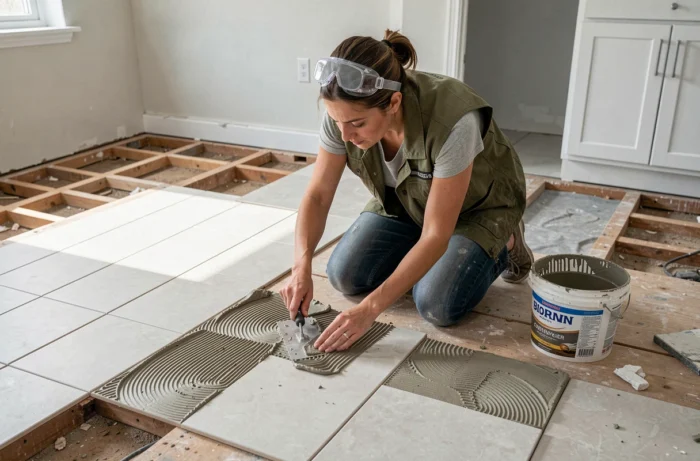
Repair or replace a DIY tool: assess it before spending
This is rarely covered in beginner’s guides, and that’s a mistake. Before buying a new sander or saw because its motor is wearing out, check whether the existing tool can be repaired to avoid unnecessary spending.
For several years, France’s Ministry for the Ecological Transition has encouraged people to “repair rather than replace” as part of efforts to reduce waste. The same principle applies to DIY tools.
Practical criteria to help you decide
- Is the fault mechanical (motor brushes, switch, chuck) or structural (cracked housing, obsolete battery with no equivalent available)? Mechanical faults can often be repaired for a fraction of the cost of a new tool.
- Are spare parts still available from the manufacturer or a third-party supplier? If parts are unavailable, replacement is the clear choice.
- Will the estimated repair cost exceed half the price of an equivalent new model? Above that threshold, replacement becomes more practical, especially if the tool has seen more than five years of heavy use.
This way of thinking is part of a circular economy. Extending the life of your tools reduces both costs and the amount of waste generated by DIY projects at home.
Basic DIY skills: what separates a successful project from an abandoned one
Online tutorials make it seem as though every project can be wrapped up in a weekend. In reality, things rarely go that smoothly. Most abandoned projects are the result of poor estimates of the time or materials needed, not a lack of practical skills.
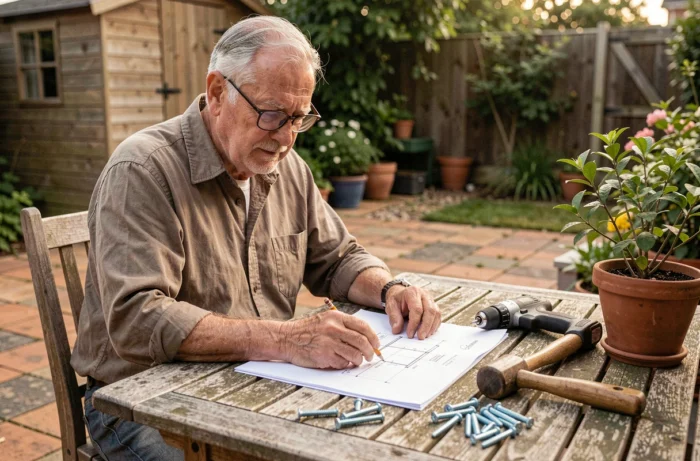
Knowing how to read a plan or assembly diagram
A dimensioned plan, even a simple one, helps prevent cutting mistakes and extra trips to the store to buy more materials. Learning to mark measurements on a wood panel or wall with a tape measure and carpenter’s pencil is the most valuable skill for a beginner DIYer.
Estimating material quantities before starting work
Calculating the area to paint, the number of screws needed, or the length of timber battens takes ten minutes. A little preparation upfront prevents interruptions once work is underway. A smooth DIY project depends more on this preparation than on the quality of your tools.
Organizing your DIY workshop: workspace as a key to success
A poorly organized workshop slows down every step. Spending five minutes looking for a drill bit each time you need to drill can turn a one-hour project into a half-day job.
Two principles are enough to create a functional workspace, even in a small area. First, give every tool a fixed, visible spot where it’s easy to reach without moving anything else. Second, keep the work area clear between tasks. A wall-mounted pegboard for hand tools and stackable bins for consumables (screws, wall plugs, bits) will meet most needs.
The space you have also affects which projects you can take on. A folding workbench suits a shared garage. A fixed saw table requires a dedicated area. Match the scope of your project to the space you actually have in your workshop to avoid leaving materials on the floor for weeks.
Ultimately, a successful DIY project comes down to three decisions: choosing the right tool for the job, checking whether an existing tool can be repaired before buying a replacement, and preparing before you begin. Everything else comes with experience, one project at a time—as long as you don’t skip the assessment stage.